Auto-update Previews
You can set Tugboat to automatically update Previews in a couple of different ways. First is the most straightforward:
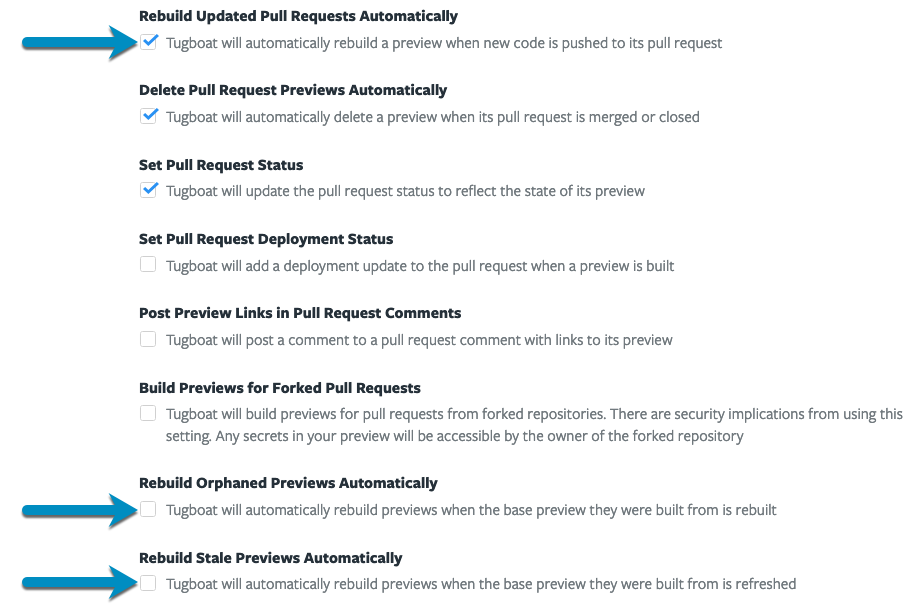
Rebuild Updated Pull Requests Automatically
When you select this setting, Tugboat automatically rebuilds a Preview when the corresponding pull request is updated.
Besides auto-generating Previews from pull requests, you can also auto-generate Previews when you make changes to a Base Preview. If you’ve set a Base Preview, you can have Tugboat:
Rebuild Orphaned Previews Automatically
When you rebuild a Base Preview, any changes in the Base Preview don’t automatically carry over to existing child Previews; they become orphaned. New Previews that are built from a rebuilt Base Preview carry forward the changes, but existing Previews maintain the old configuration and data.
When you enable the Rebuild Orphaned Previews Automatically setting, Tugboat automatically rebuilds child Previews
when the Base Preview they were built from is rebuilt. This pulls in the changes that you make to the Base Preview
during the rebuild process, and keeps child Previews in step with the Base Previews that generated them.
Rebuild Stale Previews Automatically
When you refresh a Base Preview, the updates that you make to the Base Preview don’t automatically carry over to existing child Previews. The Base Preview and new Previews built on the Base Preview may have fresh data and other updates, while existing child Previews keep their stale data.
When you enable the Rebuild Stale Previews Automatically setting, Tugboat automatically rebuilds child Previews when
the Base Preview they were built from is refreshed. This pulls in the updates that you make to the Base Preview during
the refresh process, ensuring that child Previews always have the most recent data and updates.
To set Tugboat to automatically update Previews
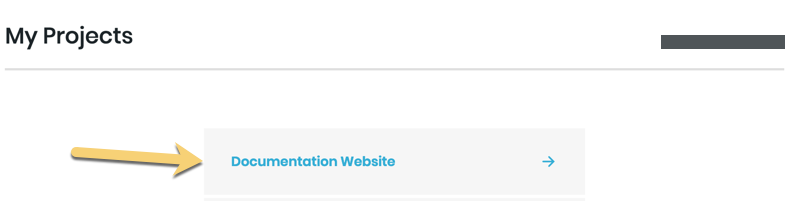
- Go to username -> My Projects at the upper-right of the Tugboat screen.
- Select the project where you want to configure auto-update settings for Previews.
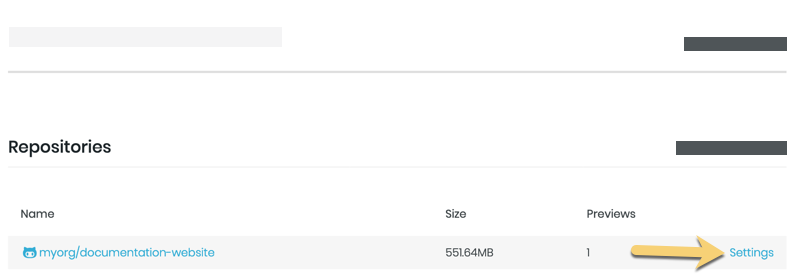
- Click into Settings for the repository.
- Click the checkboxes to change the settings you want to adjust.
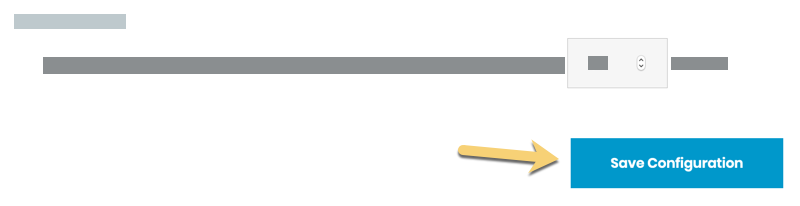
- Press the Save Configuration button to save your changes.
Go to username -> My Projects at the upper-right of the Tugboat screen.

Select the project where you want to configure auto-update settings for Previews.
Click into Settings for the repository.
Click the checkboxes to change the settings you want to adjust.
Press the Save Configuration button to save your changes.