Add Repos to the Project
Once you’ve decided how you want to structure your project, add the relevant repos to your project.
To add repos during project creation:
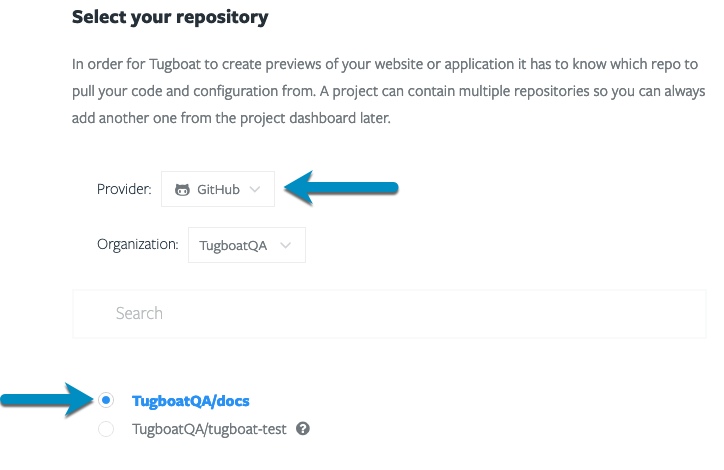
When you’re creating a project, select your repository host from the Provider drop-down, select the Organization, if applicable, and click the radio button next to the repo you want to add.
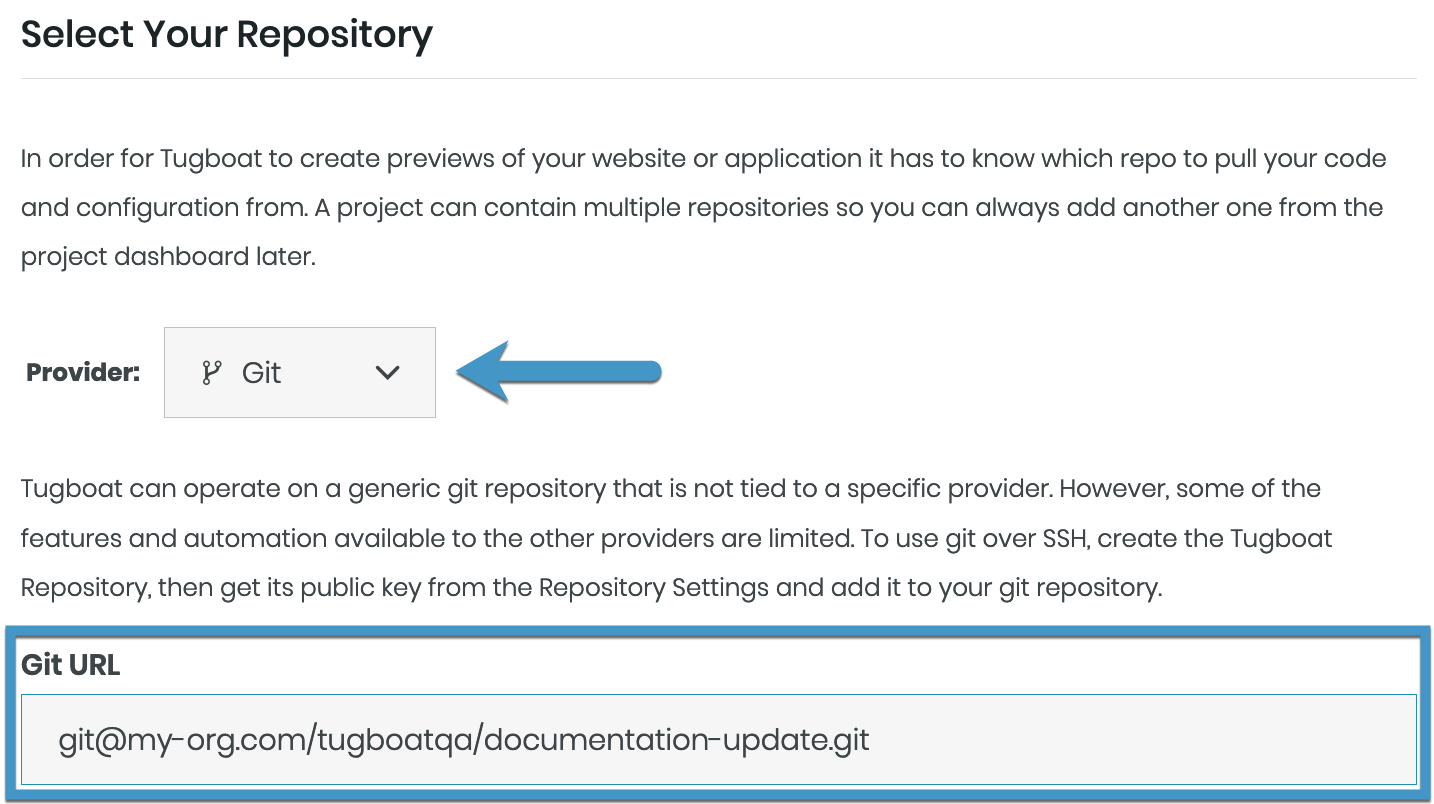
Alternately, if you’re using a generic git server, select Git as the provider, and enter your Git URL.
To add repos to a project you’ve already created:
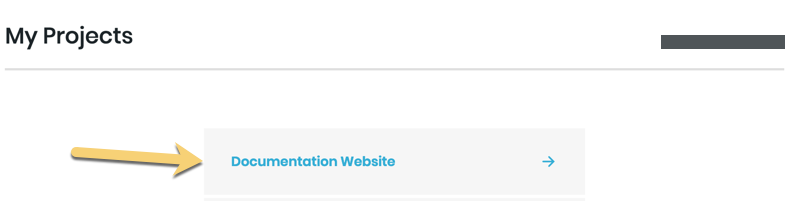
- Go to username -> My Projects at the upper-right of the Tugboat screen.
- Select the project where you want to add the repo.
- Go to Add a Repository .
From there, you’ll be back to the ‘select a provider and specify a repo’ screen.
There is no limit to the number of repositories you can add to a Tugboat project. However, you may be unable to build new Previews within a project, if the total storage used in your project reaches the billing tier storage limit for your project.
Go to username -> My Projects at the upper-right of the Tugboat screen.

Select the project where you want to add the repo.
Go to Add a Repository .
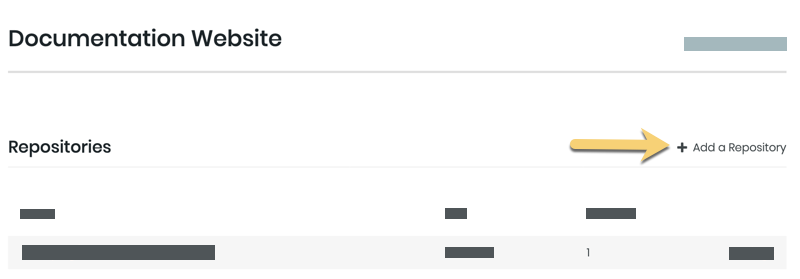
From there, you’ll be back to the ‘select a provider and specify a repo’ screen.