Set a Base Preview
Whether you want to set one Base Preview, or set multiple Base Previews, the process is the same:
How to set a Base Preview
To create a Base Preview, you’ll first need to have a Preview build to serve as your starting point.
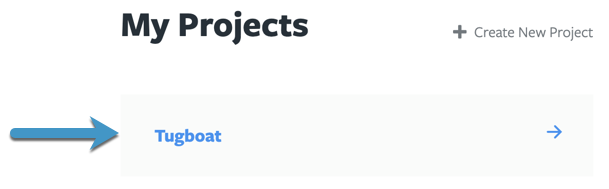
- Go to username -> My Projects at the upper-right of the Tugboat screen.
- Select the project where you want to set a Base Preview.
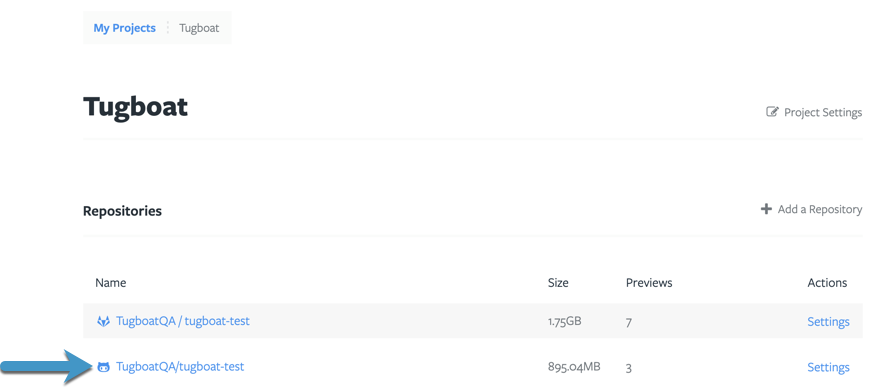
- Click the name of the repo that contains Preview you want to use as a Base Preview.
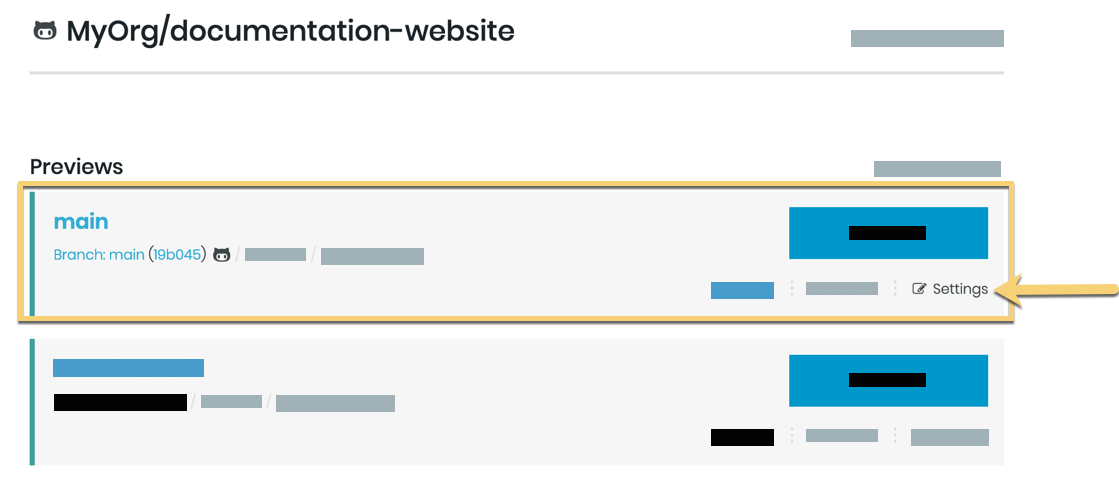
- Find the Preview you’d like to set as a Base Preview, and go into Settings for that Preview.
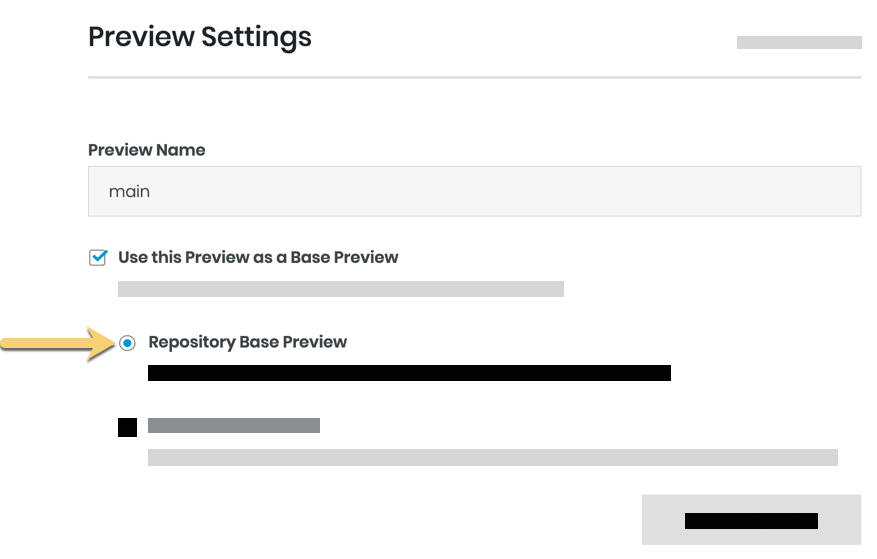
- Click the checkbox next to Use this Preview as a Base Preview.
- Select the Base Preview Type. For more about Base Preview types, see: Base Preview Auto Select.
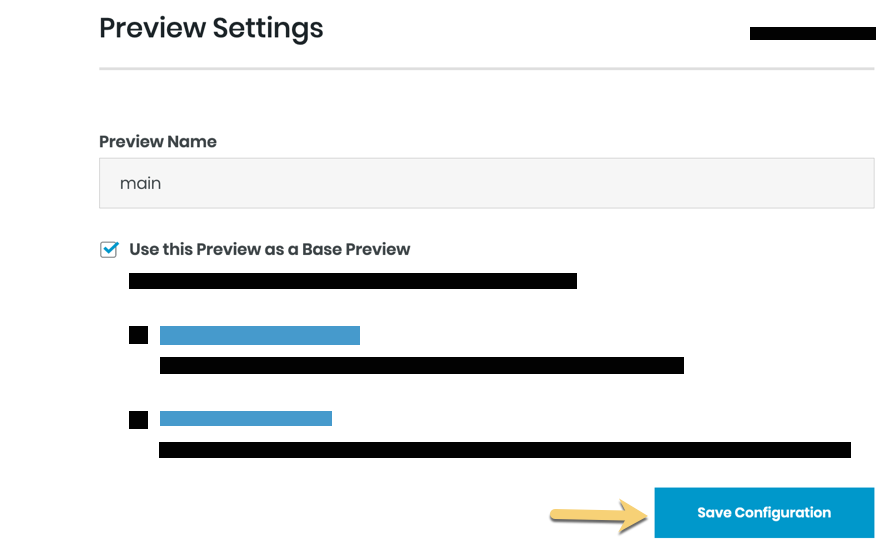
- Press the Save Configuration button.
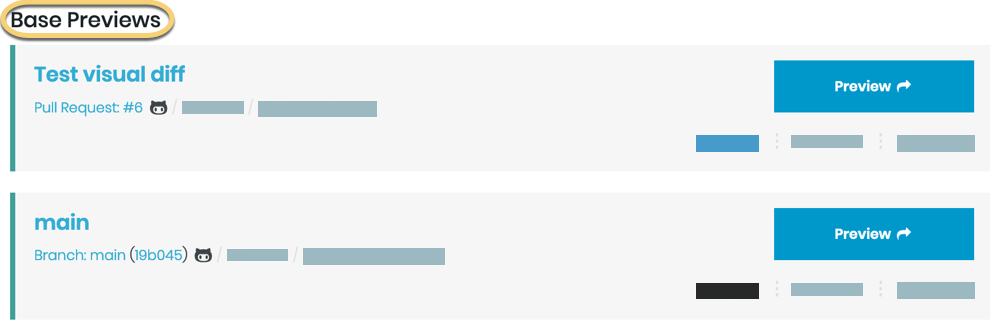
That preview will be moved to the Base Preview section of the Repository Dashboard. From now on, Previews that match the Base Preview type will build from the snapshot created when that Base Preview was built.
Go to username -> My Projects at the upper-right of the Tugboat screen.

Select the project where you want to set a Base Preview.
Click the name of the repo that contains Preview you want to use as a Base Preview.
Find the Preview you’d like to set as a Base Preview, and go into Settings for that Preview.
Click the checkbox next to Use this Preview as a Base Preview.
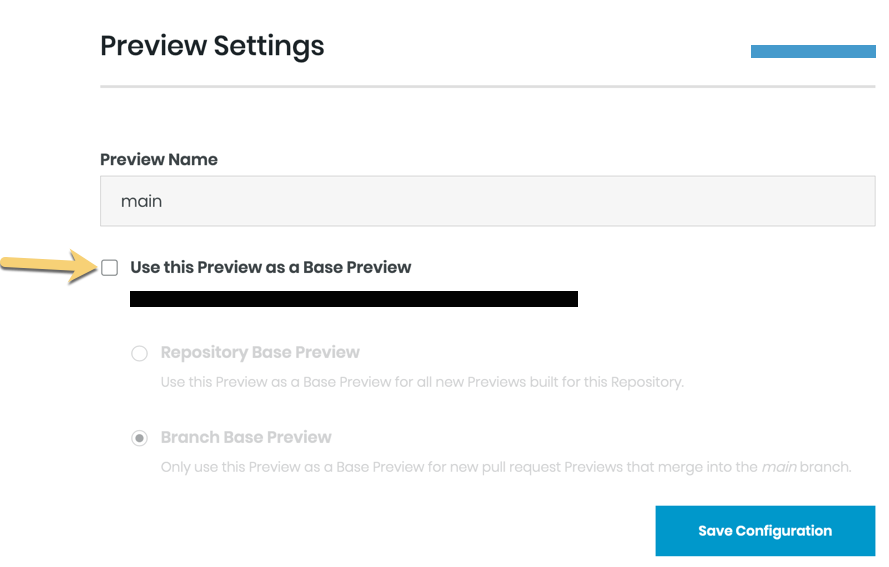
Select the Base Preview Type. For more about Base Preview types, see: Base Preview Auto Select.
Press the Save Configuration button.
That preview will be moved to the Base Preview section of the Repository Dashboard.
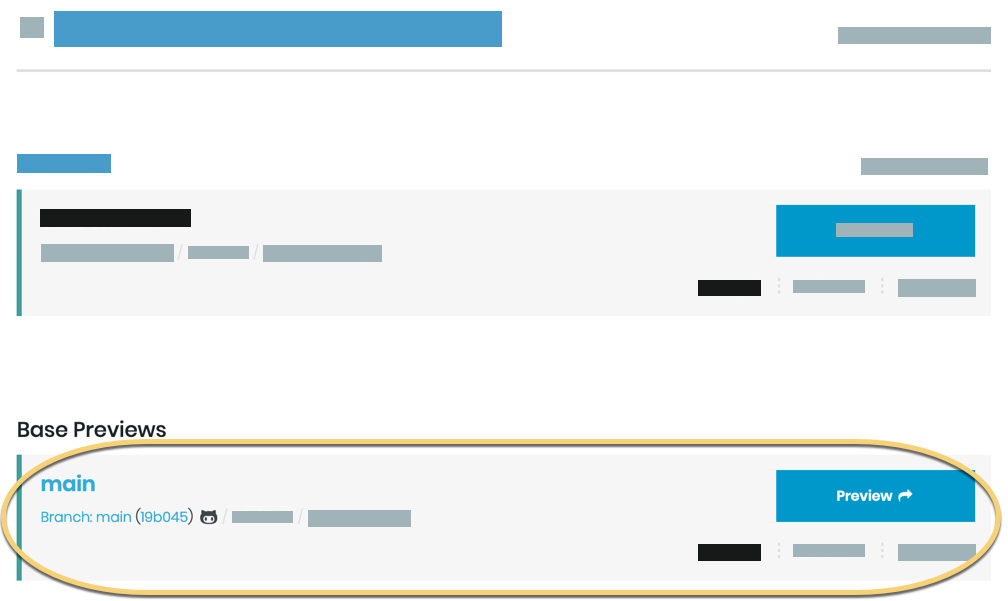
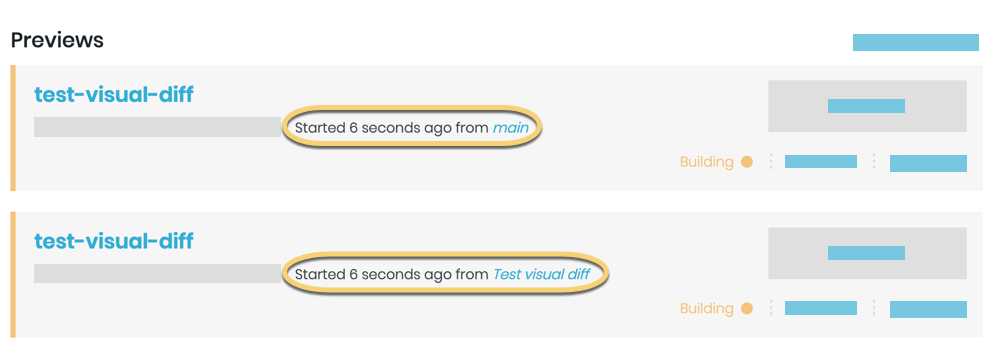
If you’re ever wondering which Base Preview was used when generating a Preview, check under the name of the Preview; you’re looking for the “from Base Preview Name“:

Add multiple Base Previews
You can add multiple Base Previews to a project, following the directions outlined above.
When you’ve set multiple Base Previews, every new Preview build (including automated builds from pull requests) will create a build from all Base Preview Types that match the new Preview build. For more information on Base Preview matching, see: Base Preview Auto Select.
In my sample project, I’ve set two Repository Base Previews, and building a Preview from a new PR automatically created two Previews - one for each Base Preview.